The first time you install Agent Threads on a fresh vault, the plugin opens a three-panel workspace for you automatically: the Chat view in the left sidebar, a bundled “Getting Started” guide in the center editor, and the Agents List in the right sidebar — so the layout makes sense before you write a single message. A welcome notice confirms it’s ready. This only happens once; the plugin sets a flag so it won’t reappear on later launches, and it’s skipped entirely if you already had threads before upgrading (existing users aren’t dropped into onboarding).
Starting your first task
- Click the Agents List ribbon icon, or run Open Agents List from the command palette (
Cmd+P) - Type a task into the dispatch box at the bottom — for example,
Summarize the README in my project folder - Check the Claude or Codex harness shown on the kickoff button, then press Enter (or click the button) — the selected harness spins up a new thread and starts working
- Watch progress in the Agents List; click any thread row to open the full conversation in Chat
To choose the other harness before sending, open the button’s selector; the choice affects new threads in that list, not existing threads or your global default. See Agents List → Dispatch box for mouse, touch, and keyboard gestures.
That’s the whole loop. From here, most of what you’ll do is send follow-up messages, review results, and dispatch new tasks — see Sending messages and slash commands for the details of composing and sending.
Tabs
Each thread in the Chat view gets its own tab, and tabs rename themselves automatically after the first exchange using the thread summarizer — you don’t need to name them yourself.
| Action | How |
|---|---|
| New thread | Click + in the tab bar |
| Close thread | Hover a tab → click × |
| Rename thread | Right-click the workspace tab → Rename thread, click the header pencil, or choose Rename thread in the thread switcher. You can also double-click the conversation title (inside the pane). Enter saves; Escape cancels. |
| Switch to tab N | Cmd+1 through Cmd+9 |
| Next / previous tab | Cmd+] / Cmd+[ |
See the full Commands Reference for every keyboard-accessible action, including the ones without a tab-bar equivalent.
Forking a thread
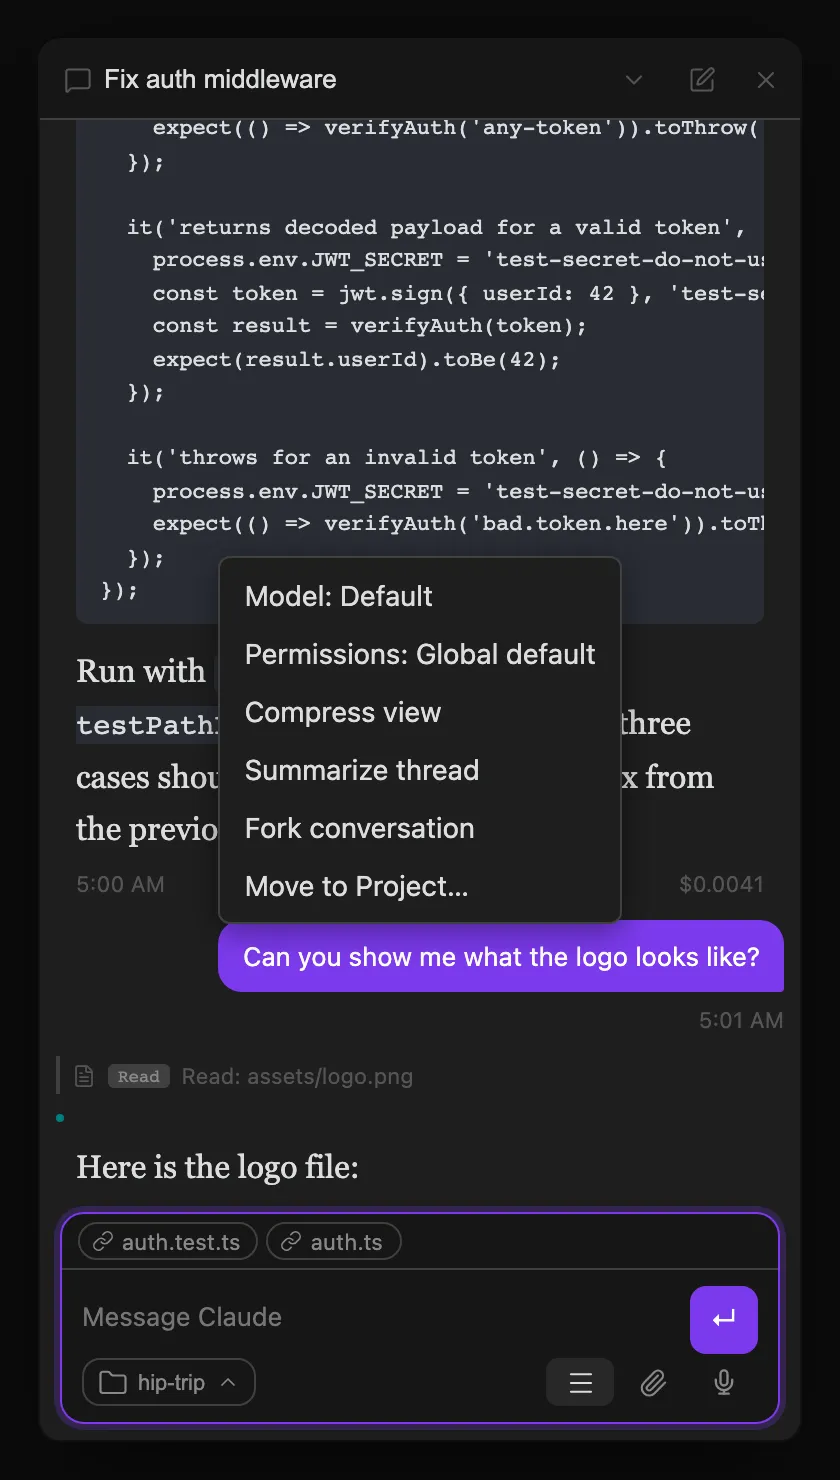
Forking splits the current conversation into a new, independent thread. Run Fork current Claude thread from the command palette or enter /fork in the chat input. A lightweight Claude call distills the existing history into a focused starting prompt for the new thread — so the fork doesn’t just copy the whole transcript, it starts the new thread with the relevant context already summarized. The original thread continues completely unaffected.
Forking is useful when a conversation has drifted onto a tangent you want to pursue separately, or when you want to hand off a sub-problem to its own thread without losing the parent thread’s momentum.
Interrupting a thread
Two ways to stop a thread that’s actively working:
- Press Escape or click Stop while it’s running — the message you sent is restored to the input box so you can edit and re-send it. This is the fastest way to cancel a run that’s about to go somewhere you don’t want.
- Run Interrupt active thread from the command palette to stop the currently active tab without touching the input box.
Interrupting doesn’t discard the conversation history — only the in-flight response is cancelled. You can send a new message immediately afterward.